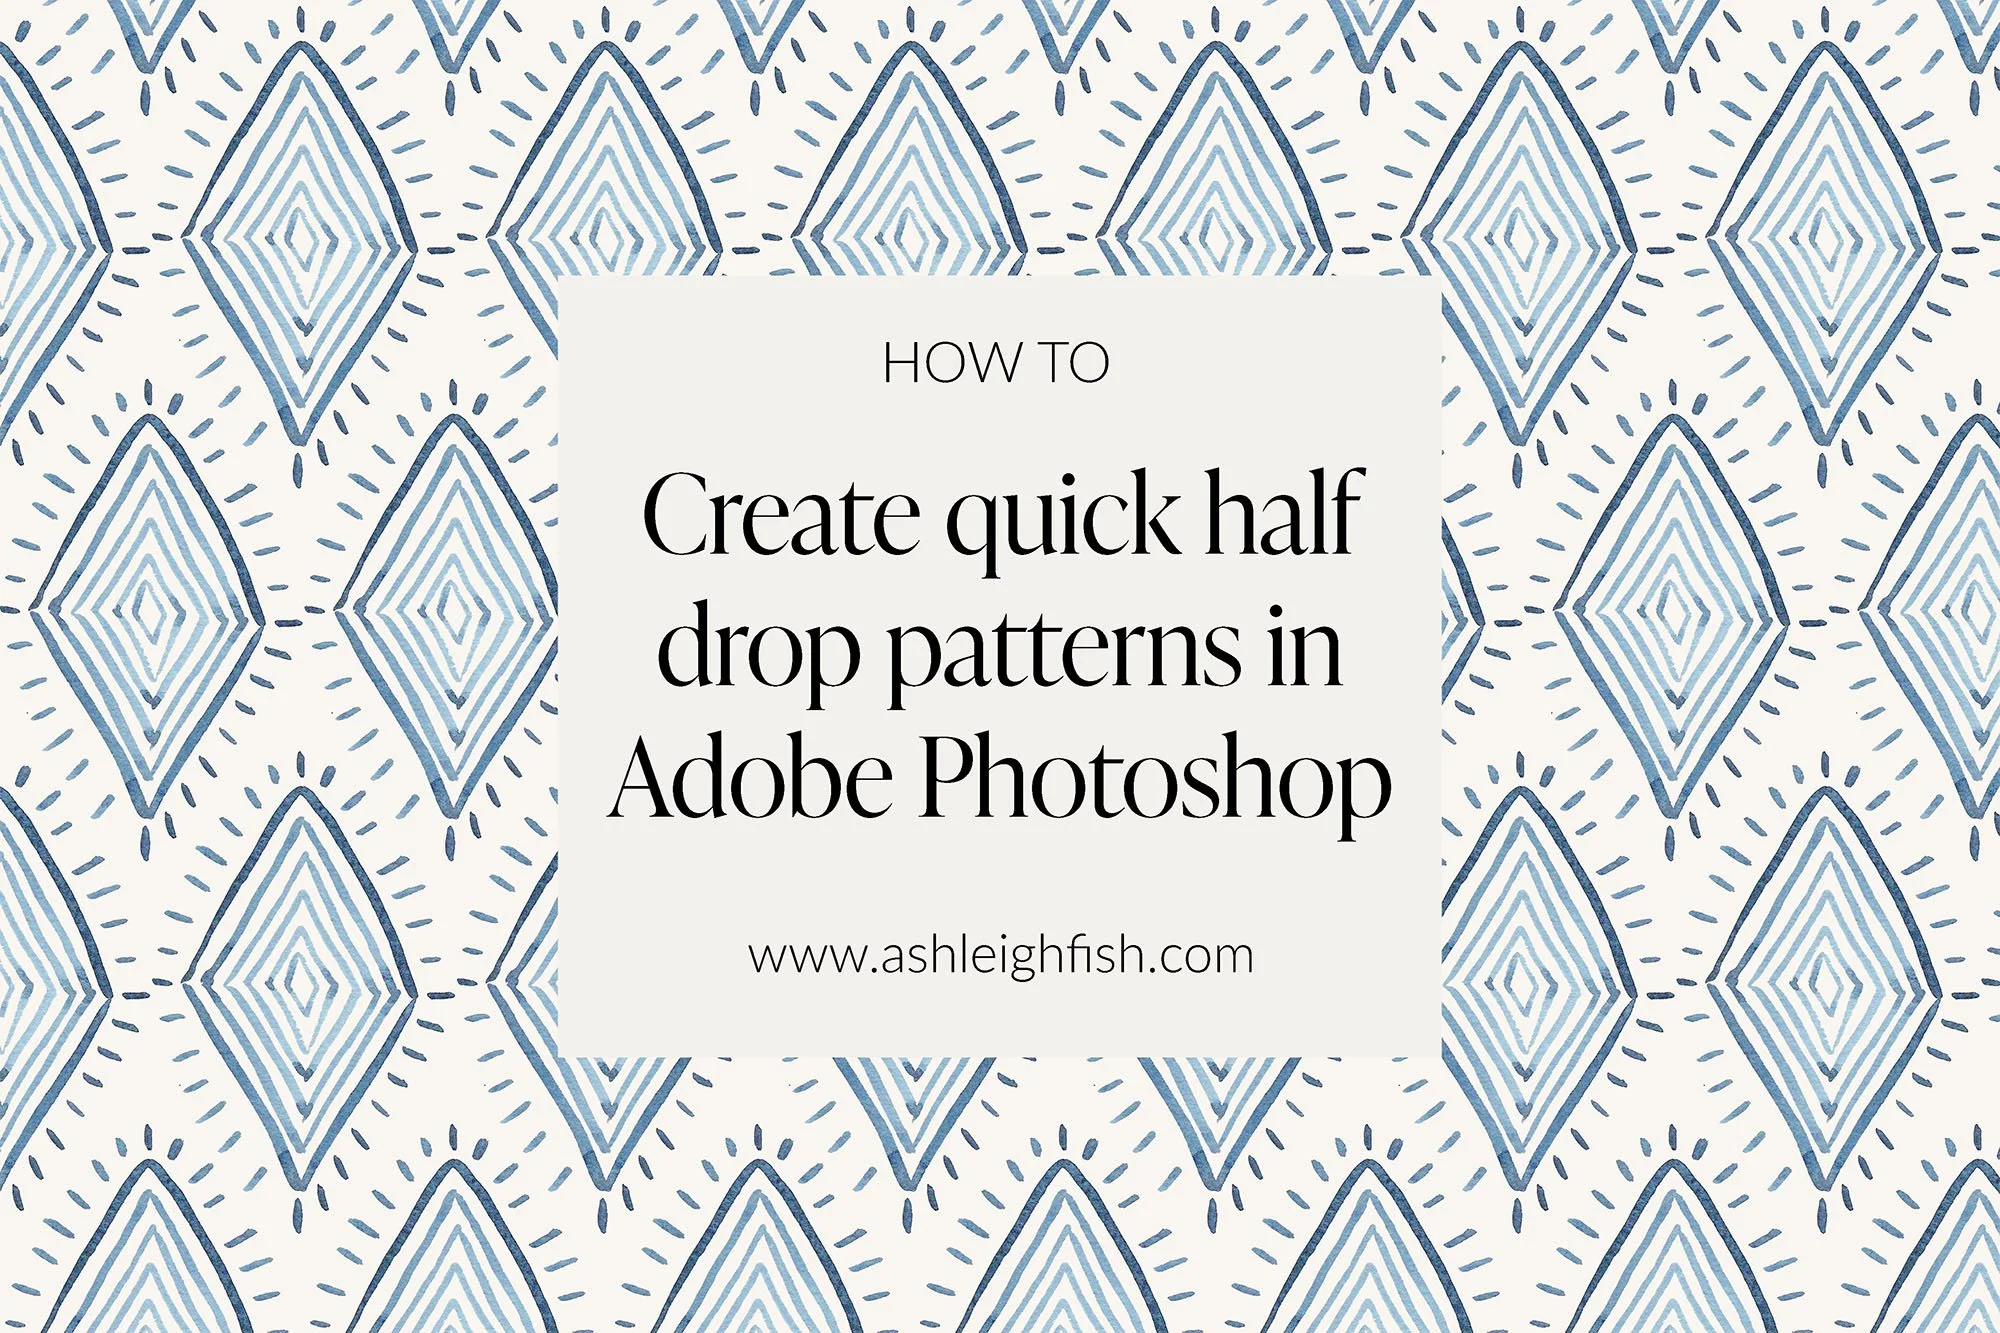
How to create a half drop pattern in photoshop.
You can use this method with any png, I like to use my procreate motifs or hand painted watercolours.
A beginner-friendly tutorial using watercolour motifs + the Pattern Preview tool
If you’re just getting started with surface pattern design and want to create a professional-looking repeat, a half drop pattern is a great place to start. It’s simple to set up in Photoshop, and it adds visual interest without needing a full collection of motifs.
In this post, I’ll show you exactly how I use Photoshop’s Pattern Preview tool to create a seamless half drop repeat using a hand-painted watercolour element.
What Is a Half Drop Repeat?
A half drop repeat is a pattern layout where each row of motifs is staggered, like bricks in a wall. It’s an easy way to add movement and rhythm to your design without needing to draw a ton of different elements.
Plus, it works beautifully with hand-painted or organic shapes like florals, leaves, or watercolor textures.
Step 1: Set Up Your Document in Photoshop
I usually work in a square canvas, something like 3000 x 3000 px at 300 dpi or 12 inch x 12 inch.
Turn on View → Pattern Preview right away. This lets you see your pattern repeating in real time, so you can get a feel for how the layout is working as you go.
Step 2: Place Your Watercolour Motif
Bring in your hand-painted element (I usually scan mine and remove the background first). Place it somewhere toward the top-left corner of your canvas. Then duplicate the layer and start building out your pattern.
To create a half drop:
Duplicate your motif
Move the new one horizontally by 50% of the canvas width (use
Image Sizeto check this if needed)Move it vertically by 50% of the canvas height
Now you’ve got the classic staggered layout!
Step 3: Fill in the Gaps
From here, keep duplicating and moving your motifs, using the Pattern Preview view to make sure things are flowing nicely. Don’t forget to leave a bit of breathing room, your repeat doesn’t have to be crammed full.
Tip: Zoom out in Pattern Preview mode to get a better sense of how the pattern will look across a full product like fabric or wallpaper.
Step 4: Test and Export
Once you’re happy with the layout, you can go to Edit → Define Pattern to save your tile. Then test it on a mockup or swatch to see how it looks.
When exporting:
Save a JPEG or PNG tile for Spoonflower, POD platforms and licensing
Save a PSD or TIFF if you want to preserve layers for future colourways
Why I Love This Method
It’s perfect for watercolor or procreate artwork
Half drop layouts feel dynamic but are easy to build
Photoshop’s Pattern Preview tool makes it beginner-friendly
Whether you’re designing for fabric, stationery, or wallpaper, this is a go-to layout I return to again and again.
Ready to Try It?
If you follow this tutorial, I’d love to see your pattern! Tag me over on Instagram or send me a message with your questions.
And if you’re still figuring out how to digitize your artwork or build your first portfolio, I have a few resources coming soon just for you, join my email list so you don’t miss out!
Please leave a comment as I would love to know of you find this tutorial helpful and what other topics you would like me to cover in upcoming free tutorials.
You can join my free facebook group here where you can check out my other free tutorials and meet a supportive artist community.


